MORTAR / RESINPrototyping
ROOTS
Away from the screen. Back to the materials.
01 / WHY
Why make it?
I wanted to make something with mortar. Not just pour it into a ready-made mold, but design the shape myself. That curiosity brought 3D design and handcraft together.
02 / IDEA
The idea.
Combining the quiet texture of mortar with sea-colored resin. Even when I repeat the process, each result is a little different. That is part of the appeal.
03 / PROCESS
Make something. See what happens.
- 01
Find the shape
Work out dimensions and thickness in Fusion, then produce the shape with a 3D printer.
- 02
Make a mold. Pour.
Make a silicone mold and cast the mortar. Experiment with resin colors and combinations.
- 03
Release and polish
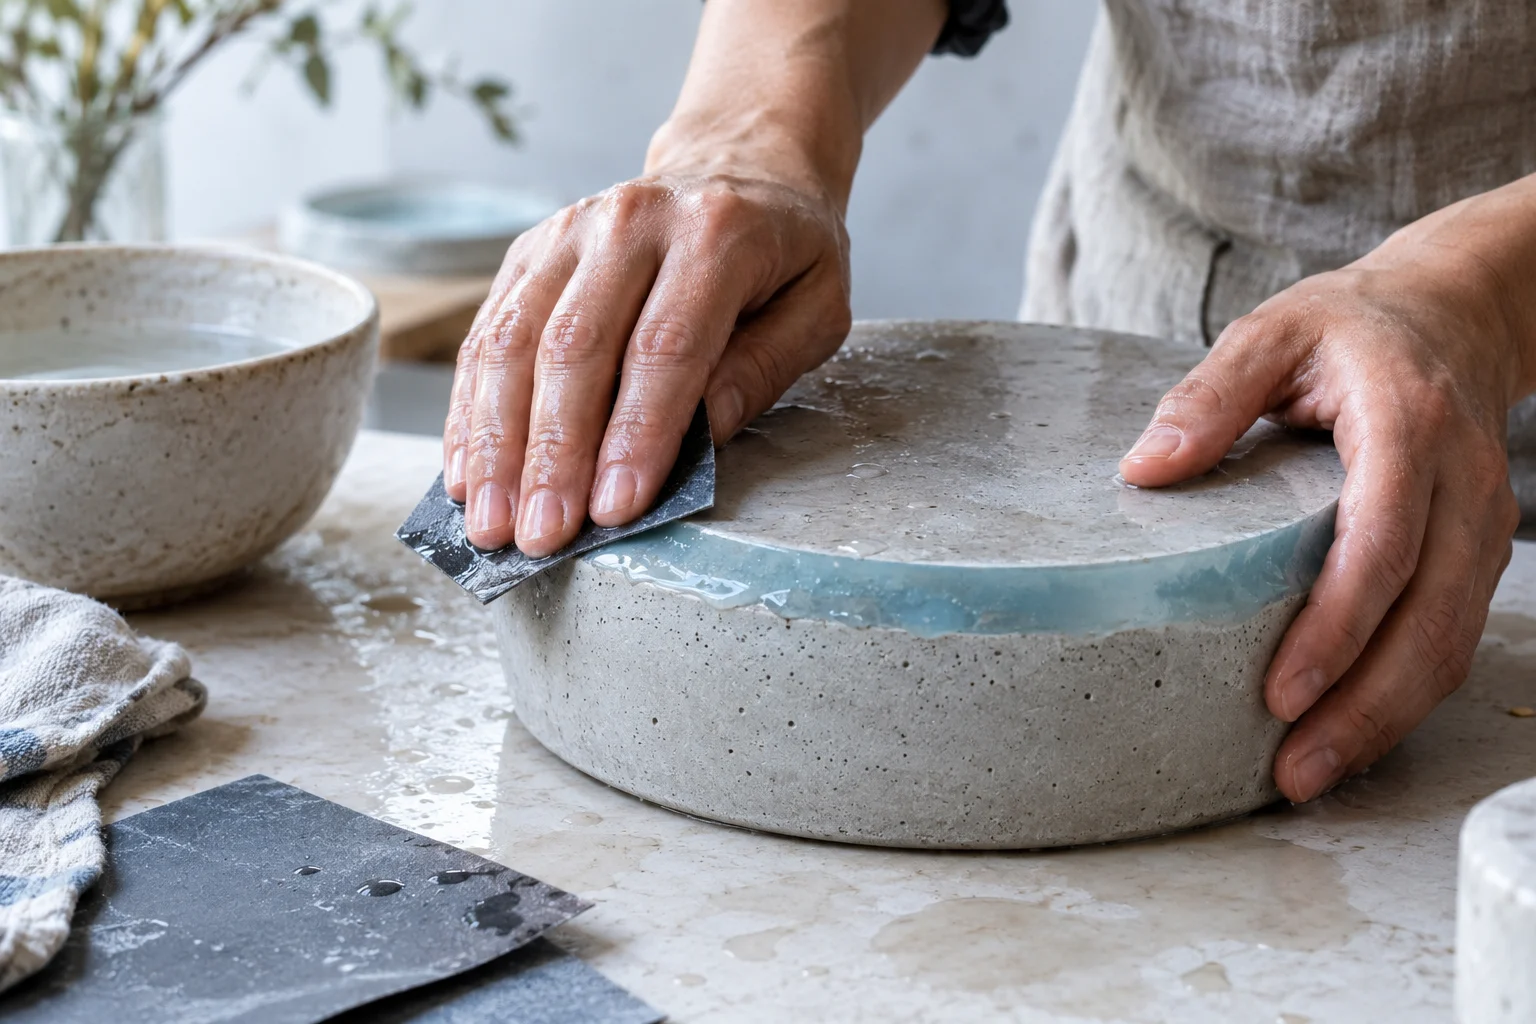
Remove it from the mold and sand it. Feel the surface and watch how the light falls across it.
- 04
Make it again
Look at the bubbles, chips, and finish, then rethink the mix and the shape.
04 / NOT AS PLANNED
It didn’t go
quite as planned.
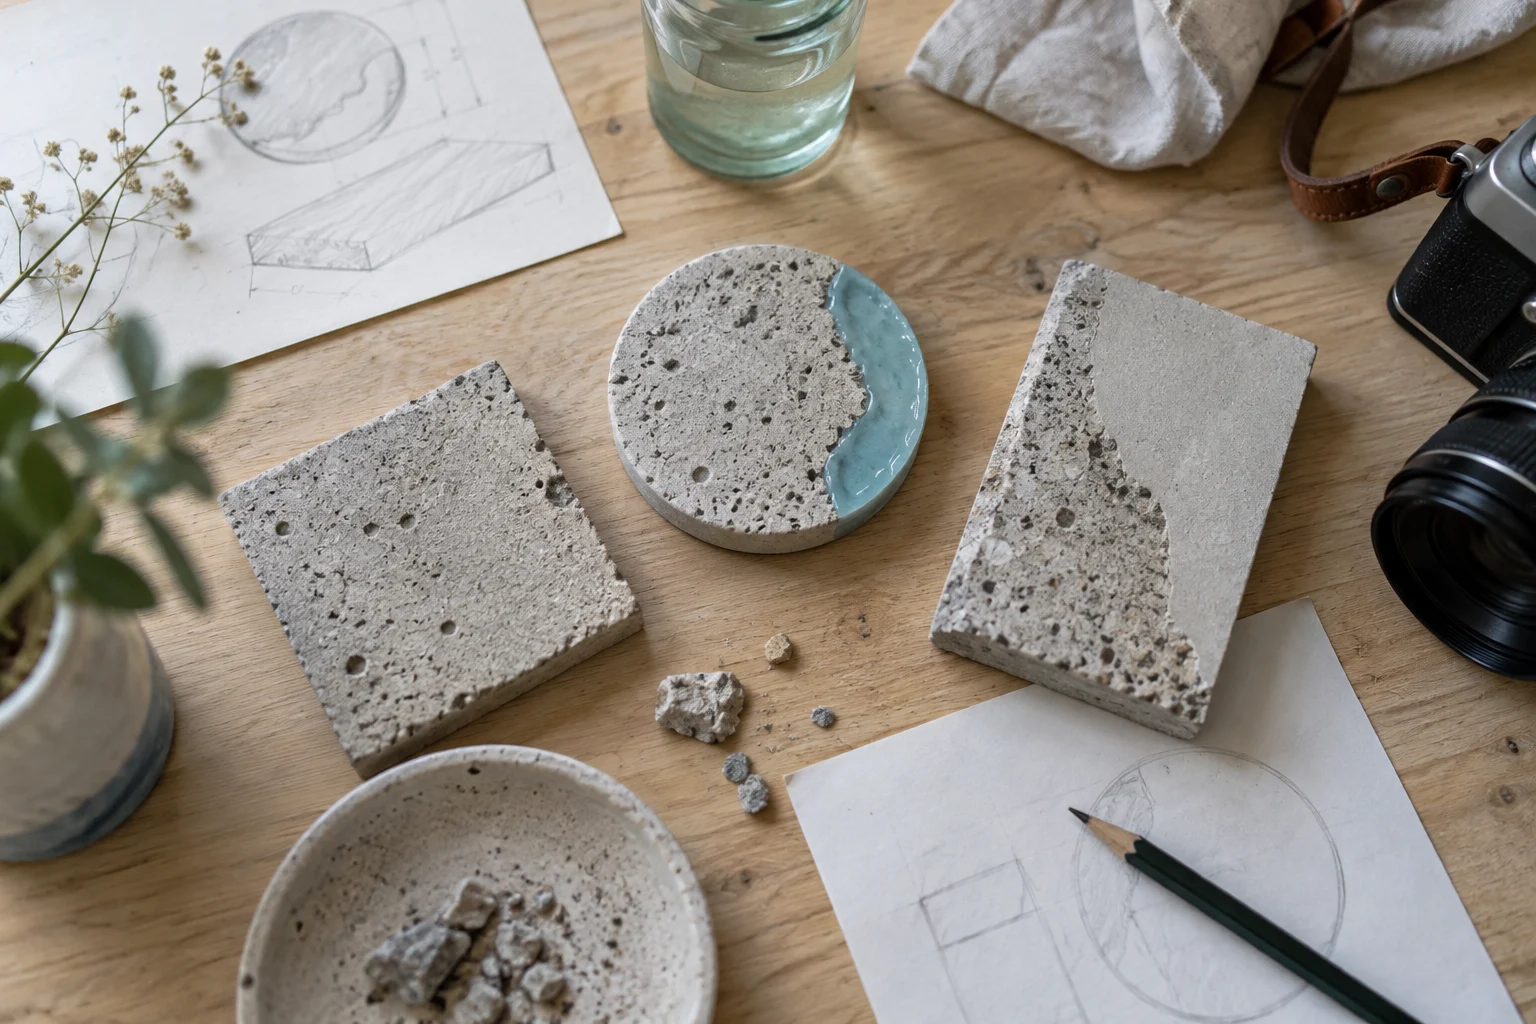
Bubbles. Chipped edges. Colors that turn out differently. Pieces that won’t release from the mold. Resin curing, boundaries, and sanding bring more questions. Fix one thing, and something else catches my attention.
05 / NOW & NEXT
Prototyping / 2026.09.19
Where things stand.
Still exploring a finish suitable for a product. Making, sanding, photographing, and learning from people’s responses.